We uploaded our living room photo and got three Scandinavian directions back in under two minutes. We picked one, showed it to our contractor, and the final result is shockingly close to the render.
Maya Patel
First-time homeowner, Brooklyn
Upload one photo of your room. The AI renders a dedicated home theater direction over your real architecture — acoustic screen wall, tiered or sectional seating, Dolby Atmos speaker placement, ambient lighting — in under a minute.
Start with a photo of the space you actually want to redesign.
Compare directions from minimal and modern to Japandi and bohemian.
Use a visual concept to clarify your taste before buying or renovating.
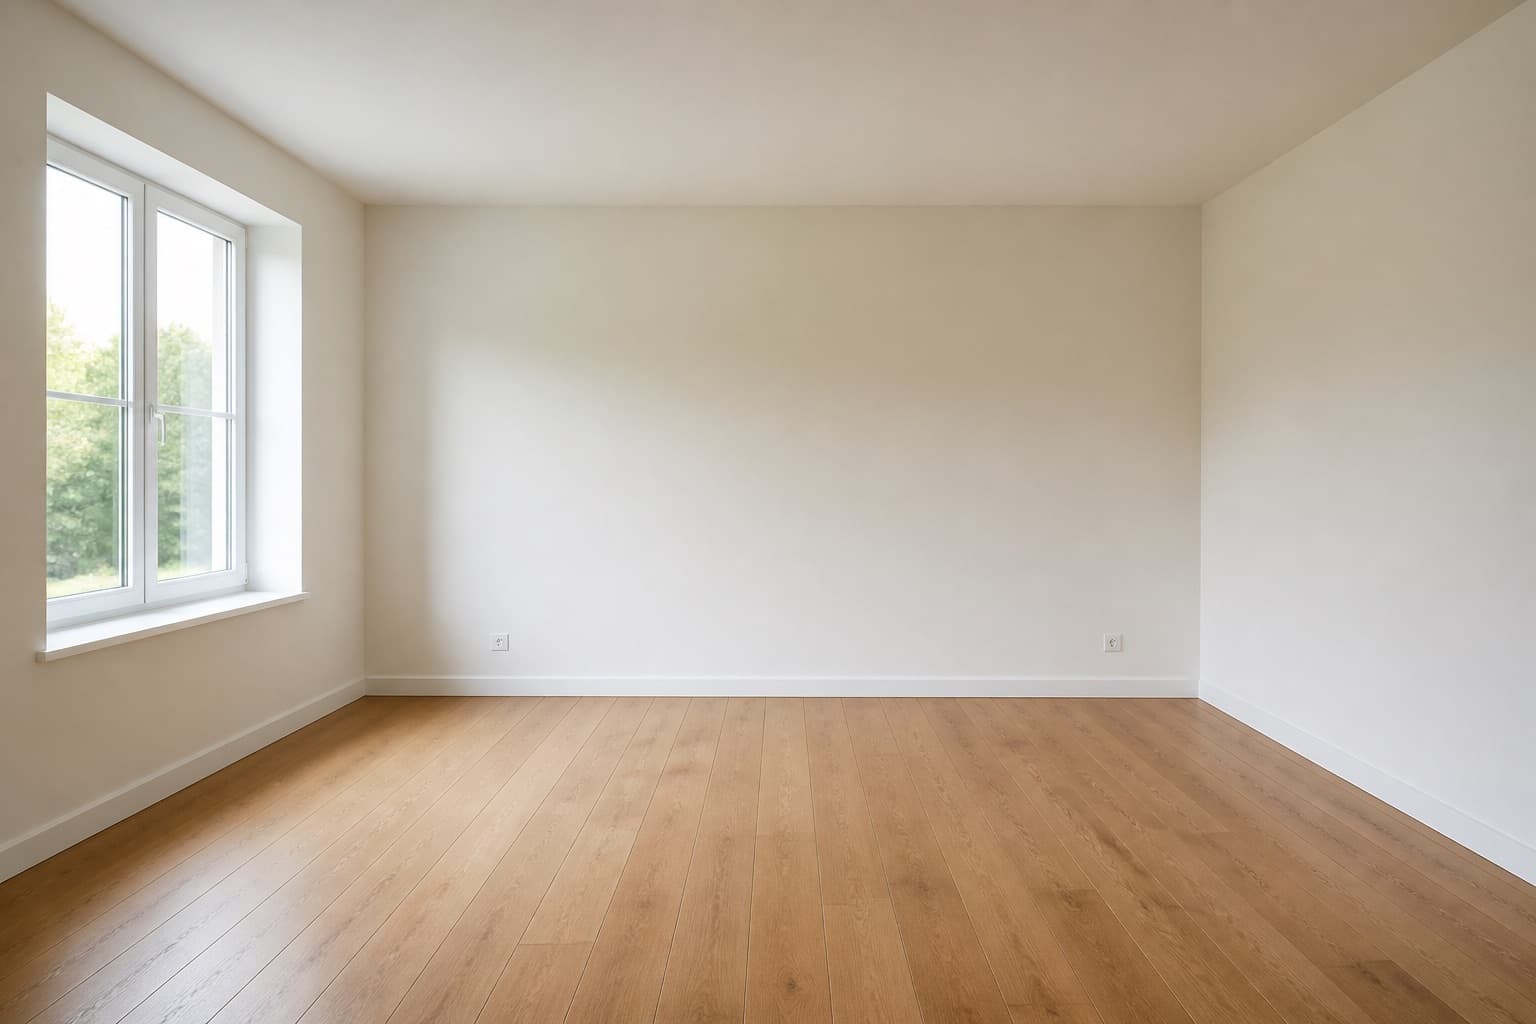 Before
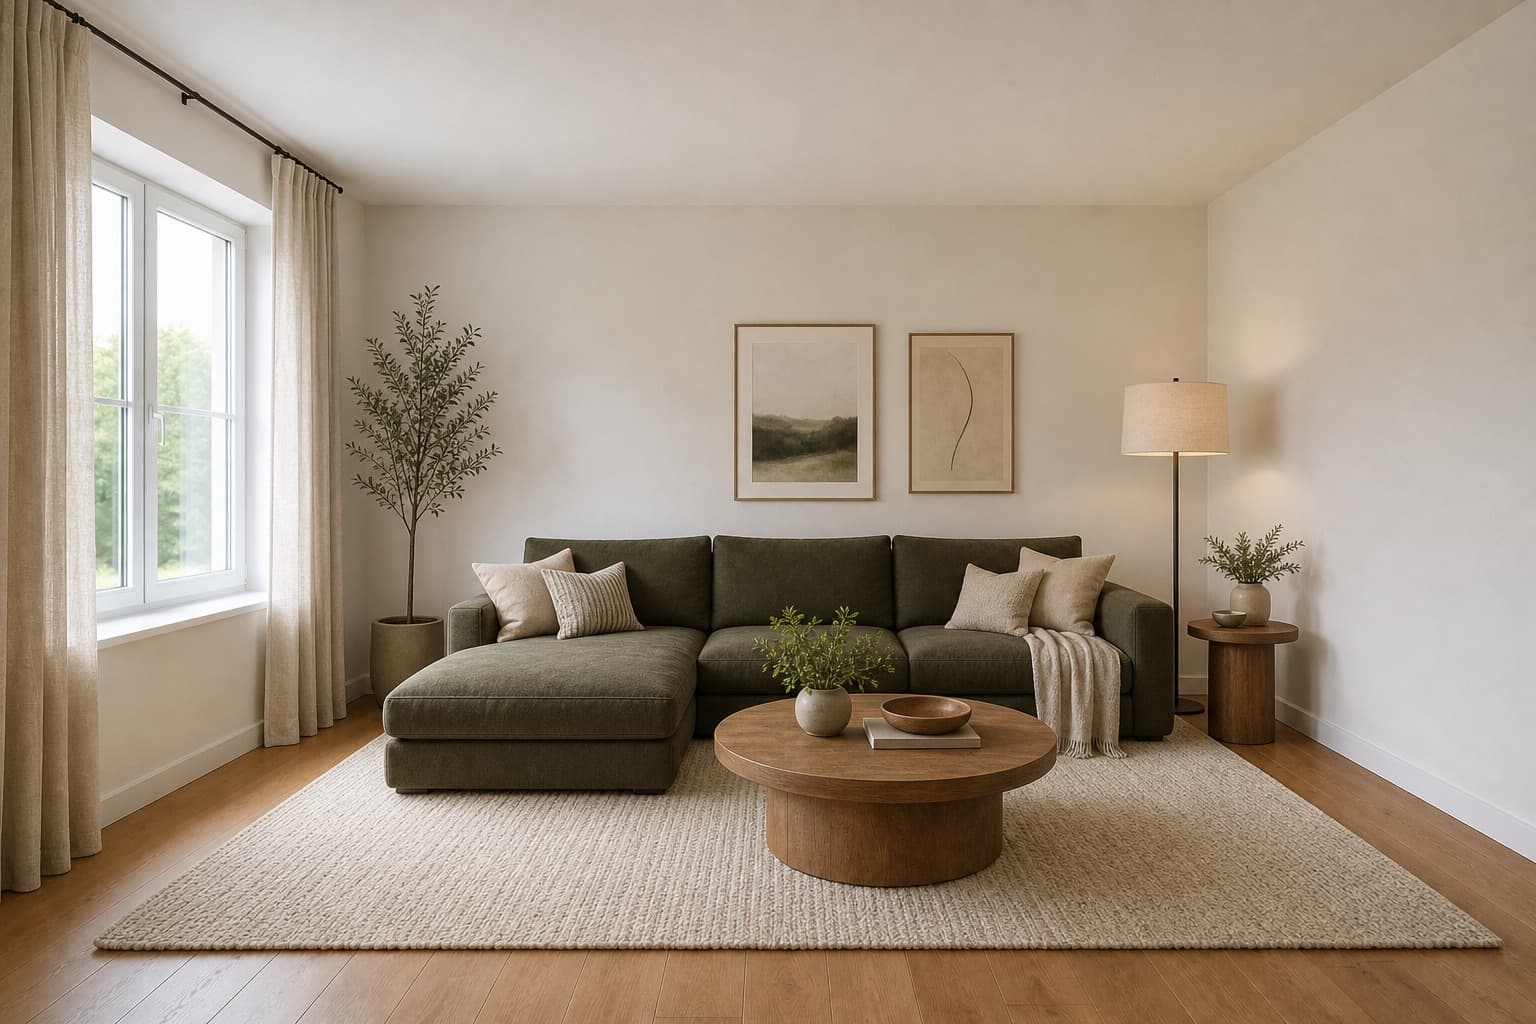 After
AfterMade for homeowners, renters and design enthusiasts
AI Home Theater Design
A home theater is not a living room with a bigger screen — it is a room built around controlled light, controlled sound, and a single viewing axis. The materials do real acoustic and visual work: dark felt panels swallow first reflections, a matte screen wall kills glare, low-pile carpet dampens floor bounce, and the ceiling either hosts a starlight field or disappears into deep matte black. Every surface in a real theater earns its place by how it behaves under projected light and inside a Dolby Atmos sound field. The room either supports the image and the audio, or it fights them at every scene change. A well-designed theater reads as deliberate architecture, not as a screen bolted onto a living room.
Miraliq's AI home theater design tool reads the photo you upload and rebuilds the room as a dedicated viewing space: the screen wall gets acoustic treatment and dark paint, the seating arranges in tiered rows or as a sectional facing the screen, ambient lighting drops to wall sconces and LED baseboards with an optional starlight ceiling, and the sound system placement follows a 5.1.2 or 7.1.4 Dolby Atmos layout tied to your real wall geometry. Windows, doors, and ceiling height stay exactly where they are. What changes is the room's behavior under projected light and inside a sound field — the surfaces become acoustically intentional rather than decorative, and the equipment rack finds a defensible location rather than crowding the screen.
Use it before you commit to acoustic paneling, before you buy a projector, or before you wire for in-ceiling Atmos speakers. A render of your own room answers a question a home theater forum cannot — whether the screen wall your room actually has can carry the dark treatment and the speaker layout you have been reading about, or whether the geometry needs a different approach before you spend a dollar. The render is the point at which a vague preference for a media room becomes a decision you can act on, or a direction you can set aside before the drywall comes off. One image tells you more about your room's fitness for theater use than a month of spec shopping.
Before & After
BeforeAfterArchitecture preserved. Screen wall treatment, seating, and lighting rebuilt as a dedicated home theater direction in a single render.
Try it now
Upload a photo and let the AI redesign it in seconds. No sign-up needed to preview.
Loved by homeowners
50K+
Rooms redesigned
180K+
Designs generated
4.9/5
Average rating
90s
Average generation time
We uploaded our living room photo and got three Scandinavian directions back in under two minutes. We picked one, showed it to our contractor, and the final result is shockingly close to the render.
Maya Patel
First-time homeowner, Brooklyn
I use this for every studio project. The Mid-century direction is genuinely well-researched — it nails the walnut + ochre + brass palette without me having to prompt for it.
Daniel Reyes
Interior design student, Chicago
Landlord won't let me paint. The refresh mode showed me how rearranging furniture, swapping rugs, and adding plants could transform the space without touching the walls. Genius.
Yuki Tanaka
Renter, Tokyo
Rated 4.9/5 by homeowners and design enthusiasts
Use Cases
A dark acoustic wall is the most committed decision in a home theater — it dominates the room visually and acoustically, and once it is up, every other decision answers to it. A felt swatch tells you almost nothing because the effect compounds across the entire screen wall and the way projector light hits it during a dark scene. The AI renders the full wall at once so you can see whether your room can carry that much dark mass, or whether it needs lighter side walls for balance.
Whether a projector or a 98-inch TV belongs in your room depends on viewing distance, ambient light, and wall proportions you cannot judge from a spec sheet. A projector throws a different image geometry, needs a throw distance your room may or may not have, and rewards a fully dark wall. A TV wall frees the ceiling but reads more like a living room. The render shows you both directions as architecture, not as a shopping list, so you can judge which suits the room you actually have.
A 5.1.2 or 7.1.4 Dolby Atmos layout depends on ceiling height, seating position, and side-wall symmetry — three things your room either has or does not. The AI home theater design tool reads your room's geometry from the photo and places speakers in valid positions rather than theoretical ones, so you can see whether a 7.1.4 layout actually fits before you cut ceiling holes. If the ceiling is too low for overhead channels, the render makes that visible rather than leaving you to find out after the drywall is open.
A render travels better than a wiring diagram because it carries speaker positions, screen size, seating layout, and lighting in one image. Send the AI home theater design output to your installer and the first conversation starts from a shared visual rather than a list of Atmos channels they have to interpret. You spend the meeting talking about whether the front left speaker clears the door swing, not what you meant by tiered seating. The render becomes the brief.
AI Design Process
Shoot your room straight-on from the seating position in normal daylight, with the screen wall and the longest side wall visible. The AI home theater design tool reads wall geometry, window positions, and ceiling height from the photo itself — it does not need measurements or a floor plan. JPG, PNG, and WebP up to 4MB are supported, and a single clean frame from eye level at the seating row is enough to generate from. Avoid wide-angle distortion; it makes the screen wall read as larger than it is.
Select living room as the room type and redesign as the mode. The AI keeps your architecture — wall geometry, window positions, ceiling height, door swings — and applies a dedicated home theater direction over it: acoustic screen wall, dark paint, tiered or sectional seating, ambient lighting, and a Dolby Atmos speaker layout tied to your real geometry. You are directing the room's behavior under projected light, not redrawing the walls. The room stays yours; the function shifts.
In under a minute you receive a high-resolution render. Walls, windows, and ceiling stay exactly where they were; the screen wall gains acoustic treatment, the lighting drops to ambient, the seating arranges for the viewing axis, and the speaker placement follows a valid Atmos layout for your room's geometry. The architecture is the reference, not the casualty — nothing structural changes. The render shows you what your room behaves like as a theater, not what it would behave like as a different room entirely.
Use the before/after slider to judge whether the direction fits your proportions. Too dark for your room? Generate a second render with a brighter ceiling or a smaller screen wall to compare. Want to weigh a projector direction against a TV wall direction? Run both and look at them side by side. One render rarely settles a theater design — two or three together tell you which version of the room your space actually supports, which version the budget should follow, and where the room fights the function.
Room Tips
The screen wall is the single most important surface in a home theater — that is where acoustic treatment, dark paint, and the display itself will land. Frame the photo so the wall you intend to use as the screen wall is fully visible, with no cropping at the corners. A photo shot from the seating position gives the AI the right viewing axis to place speakers and seating correctly. A corner shot hides the wall and the AI has nowhere to put the screen.
The AI home theater design tool uses your existing furniture as a scale anchor — it reads the footprint to judge how large the screen wall and the tiered seating should be. Keep the current sofa or chairs visible and roughly centered so the render reads proportions correctly and the new seating does not come back impossibly large or small. Empty rooms are harder for the AI to scale because there is nothing for it to read against, and the screen wall ends up guesswork.
Home theaters depend on controllable light, and the AI reads the lighting direction from the photo you give it. A photo shot at noon with curtains open tells the AI the room lives in bright daylight, and the render comes back as a living room with a screen on the wall rather than a theater. Shoot with curtains drawn or at dusk so the AI sees the ambient lighting direction you actually want, and the render returns wall sconces and LED baseboards glowing against a dark wall.
AV receivers, cable boxes, and game consoles piled against the screen wall confuse the AI's reading of where the acoustic treatment should run, because it cannot tell where the wall ends and the gear begins. Spend two minutes clearing the equipment off the screen wall and you will get a noticeably cleaner acoustic render. The side walls matter less — the redesign will replace the screen wall surface entirely, but clutter there is easier for the AI to read past.
Supported Styles
Clean planes, brushed metal, and a restrained dark palette. A modern home theater reads as a media room rather than a bunker — the screen wall is matte black, the side walls are warm dark grey, the seating is low and modular, and the lighting runs as a thin LED baseboard rather than sconces. Try it if you want the room to function as a theater without looking like one when the screen is off.
Walnut wall panels with felt inlays, Eames-style lounge recliners, and warm cove lighting. A mid-century home theater trades the matte black bunker look for warm wood and tapered legs while still doing acoustic work — the felt inlays absorb first reflections and the walnut reads as intentional architecture. The trade is a slightly less controlled light environment; pick it if the room has to double as a living room.
Blackened steel framing, exposed conduit, concrete floor, and Edison-style wall sconces on dimmers. An industrial home theater embraces the working-room aesthetic — cable runs become a feature, the equipment rack reads as a rack, and the screen wall is matte black against raw concrete. It suits a basement or converted garage better than a formal living room, and it forgives AV gear clutter.
Pale oak acoustic panels, linen-upholstered seating, warm-white walls, and a paper-light ceiling fixture. The opposite weight from the matte black bunker theater. A Scandinavian home theater keeps the function but lifts the room toward daylight, which means a less aggressive contrast ratio and a TV wall rather than a projector. Pick it if the room has to read as a living room first and a theater second.
Stripped-back, monochrome, and intentional. A minimalist home theater removes everything that is not the screen — the wall behind it is a single dark plane, the seating is uniform, the lighting is hidden until called for, and no equipment is visible. It is the most demanding direction because there is nowhere to hide a mistake. Try it if the industrial render reads as too much material.
FAQ
Keep exploring
Upload one photo. The AI renders an acoustic screen wall, tiered seating, and a Dolby Atmos speaker layout over your real room in under a minute — no measurements, no software, no commitment. Free to try, no card required for the first render.
Upload & Try FreeMIRALIQ