We uploaded our living room photo and got three Scandinavian directions back in under two minutes. We picked one, showed it to our contractor, and the final result is shockingly close to the render.
Maya Patel
First-time homeowner, Brooklyn
Upload one photo of your room. The AI renders a gaming setup over your actual architecture — battlestation desk, monitor array, RGB bias lighting, acoustic treatment, ergonomic chair — in under a minute.
Start with a photo of the space you actually want to redesign.
Compare directions from minimal and modern to Japandi and bohemian.
Use a visual concept to clarify your taste before buying or renovating.
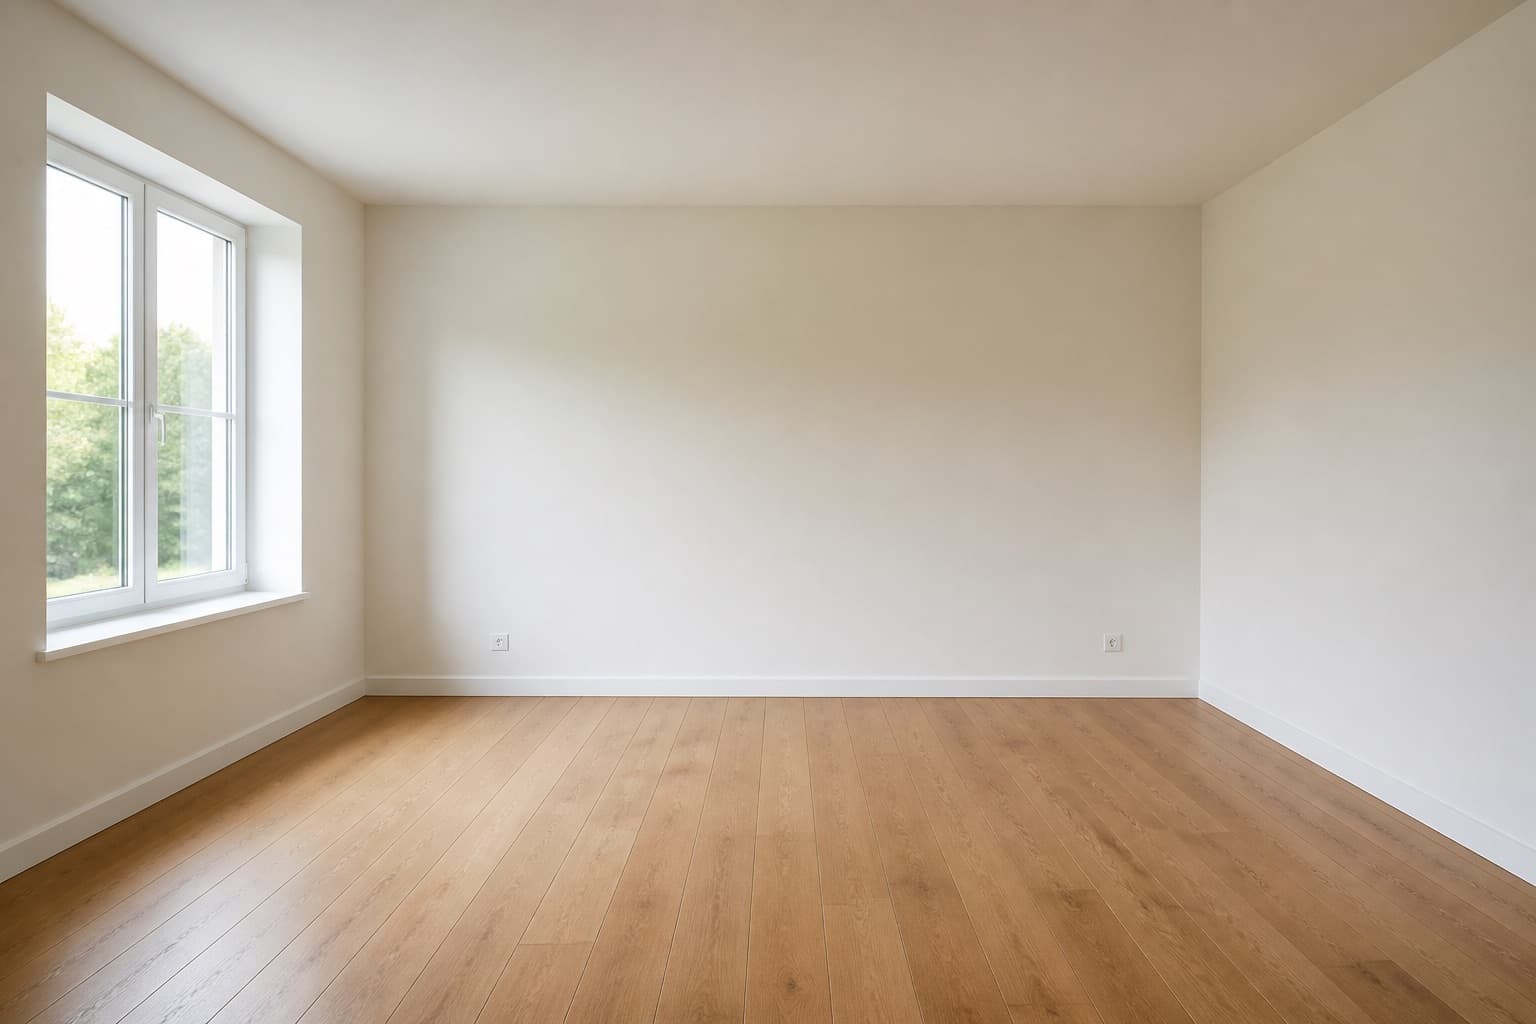 Before
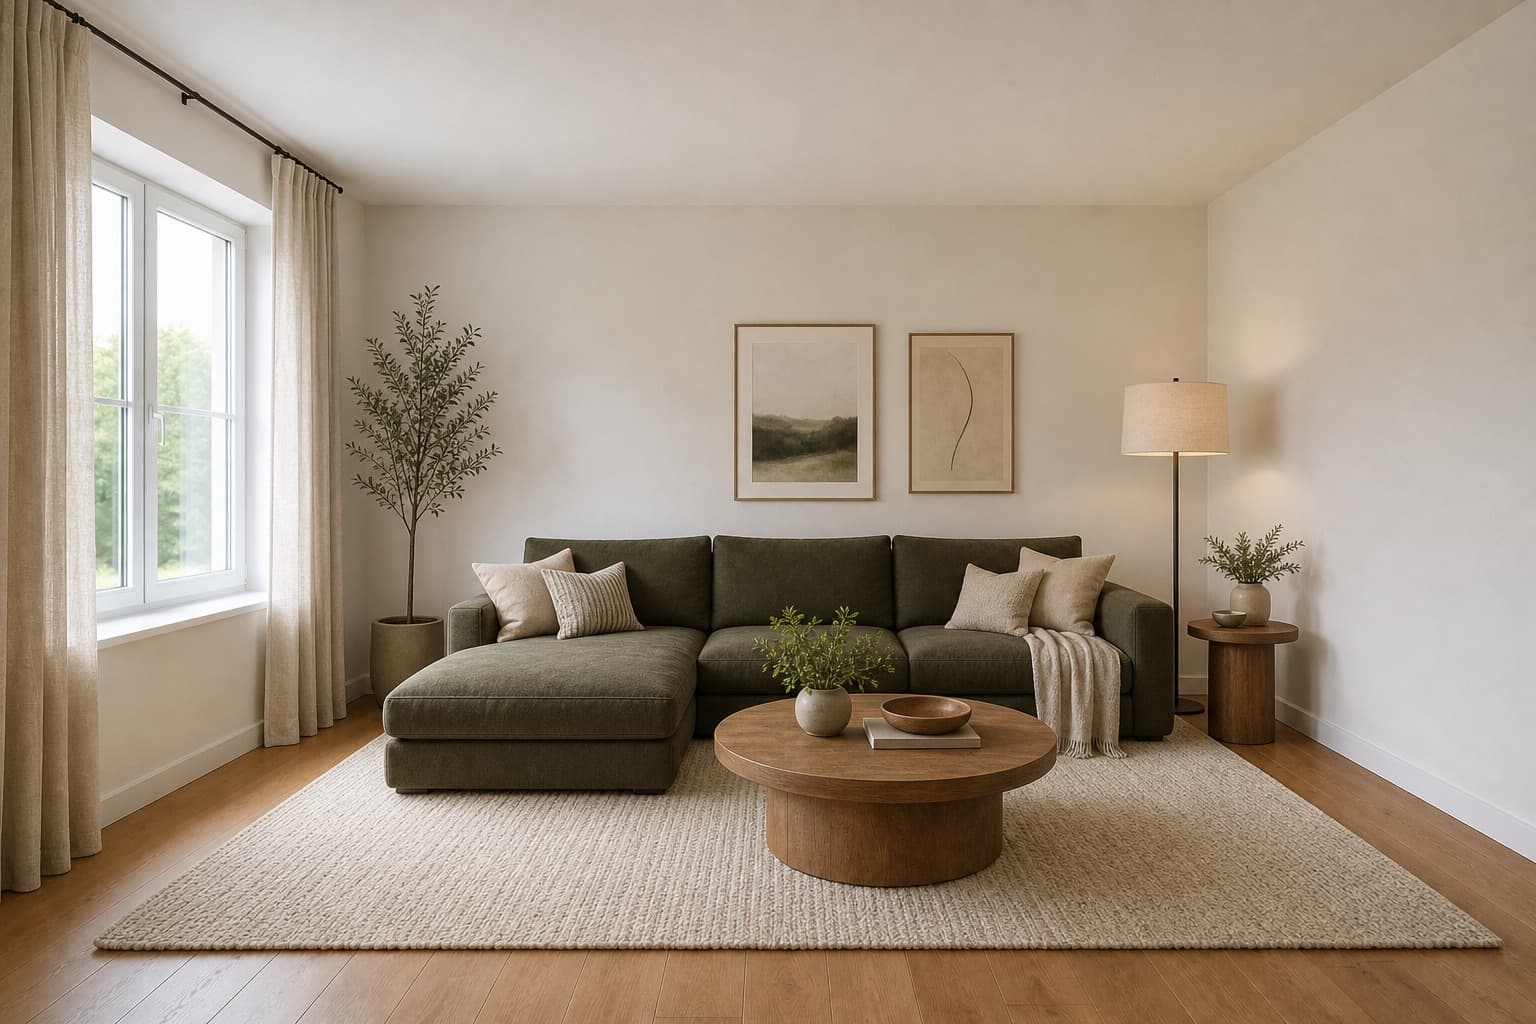 After
AfterMade for homeowners, renters and design enthusiasts
AI Gaming Room Setup
A gaming room is not a desk in a bedroom — it is a system. A 27-inch 1440p monitor sits at the sweet spot of pixel density and refresh rate affordability, and once you commit to two of them the desk depth, monitor arm reach, and eye-to-screen distance all become non-negotiable. Add a third for sim racing or streaming and the geometry changes again. RGB bias lighting behind the monitors does dual work: it reduces eye strain during long sessions and reads as ambient atmosphere when the rest of the room is dark. None of this is decorative. Every choice trades against another — the chair that supports a six-hour raid absorbs floor space the speakers wanted, and the acoustic panels that stop your voice bouncing back into the mic eat wall the figures shelf wanted. A gaming room setup is the resolution of those trades.
Miraliq's AI gaming room setup reads the photo you upload and rebuilds the room as a battlestation. The desk widens to hold a dual or triple monitor array, the wall behind gets bias lighting that reads as glow rather than glare, and an ergonomic gaming chair replaces whatever is currently there. Cable management becomes visible — channels, under-desk trays, sleeved runs — rather than the usual nest behind the legs. Acoustic panels land on the walls that actually reflect sound back to your mic. The walls, windows, and proportions stay exactly where they are. What changes is the ergonomics, the lighting, and the gear layout — the parts of a gaming room that decide whether you finish a session tired or wrecked.
Use it before you buy the monitor arm, before you commit to an L-shaped desk, or before you drill holes for cable trays. A render of your own room answers a question a Reddit battlestation thread cannot — whether your specific window throws glare across the screen at the hour you actually play, and whether a triple-monitor array leaves you any desk surface for a keyboard and a mouse, or whether the speakers you wanted have to move to bookshelf stands because the desktop ran out of depth. The render is the point at which a Pinterest board of gaming setups becomes a decision about your room, or a direction you set aside before the courier shows up with a 49-inch ultrawide that does not fit your wall.
Before & After
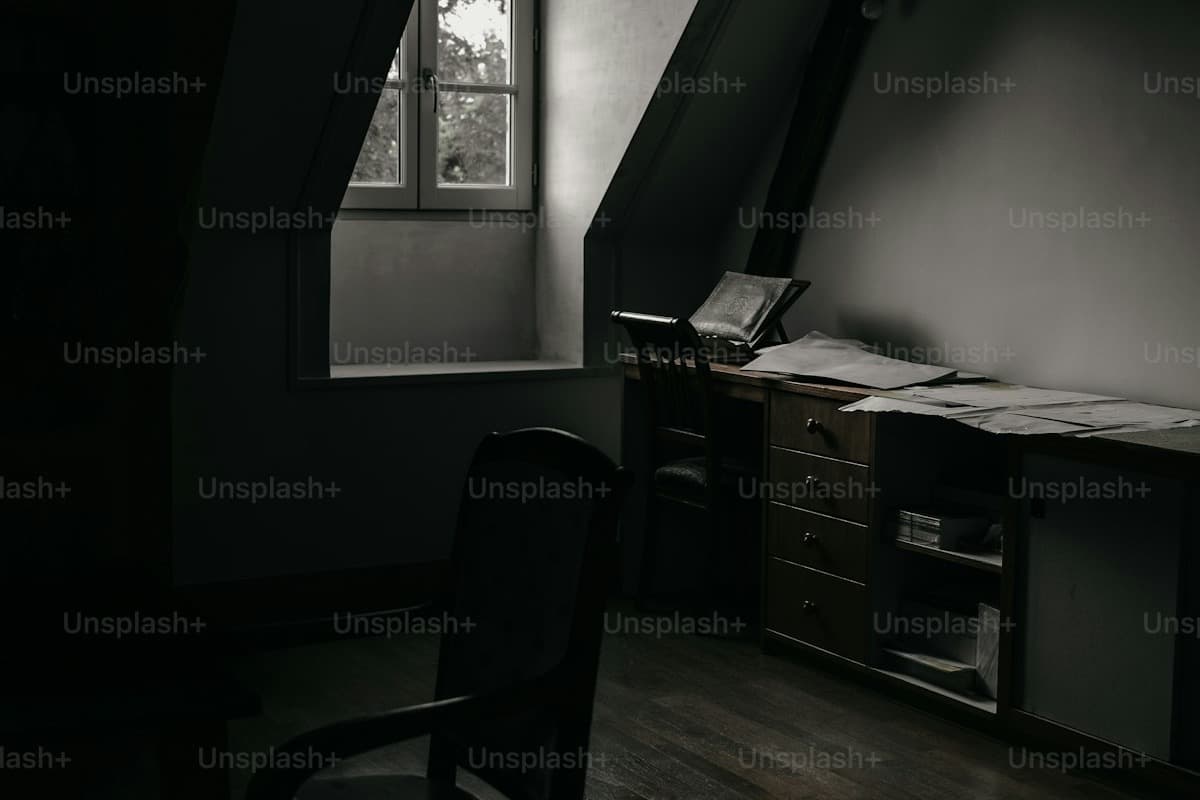 BeforeAfter
Architecture preserved. Desk, monitors, lighting, and acoustic treatment rebuilt into a battlestation in a single render.
Try it now
Upload a photo and let the AI redesign it in seconds. No sign-up needed to preview.
Loved by homeowners
50K+
Rooms redesigned
180K+
Designs generated
4.9/5
Average rating
90s
Average generation time
We uploaded our living room photo and got three Scandinavian directions back in under two minutes. We picked one, showed it to our contractor, and the final result is shockingly close to the render.
Maya Patel
First-time homeowner, Brooklyn
I use this for every studio project. The Mid-century direction is genuinely well-researched — it nails the walnut + ochre + brass palette without me having to prompt for it.
Daniel Reyes
Interior design student, Chicago
Landlord won't let me paint. The refresh mode showed me how rearranging furniture, swapping rugs, and adding plants could transform the space without touching the walls. Genius.
Yuki Tanaka
Renter, Tokyo
Rated 4.9/5 by homeowners and design enthusiasts
Use Cases
A triple-monitor array is the most common thing gamers regret buying, because the side monitors eat desk width the keyboard and mouse needed and the whole rig demands a deeper desk than you anticipated. The AI gaming room setup renders the array over your actual desk so you see whether 27-inch panels fit side-by-side or whether you should drop to 24-inch side monitors. The render reads real proportions — yours, not a product photo — and answers the fit question before the boxes arrive.
Glare is the thing you cannot judge from a monitor's spec sheet. A window that looks harmless at noon can wash out a screen at the hour you actually play. The AI gaming room setup keeps your window positions and renders the monitor array relative to them, so you can see whether you need blackout curtains, a reoriented desk, or a bias-lighting strategy to compensate. The render tells the truth about a problem your eyes will not catch until the room is built and the sun has moved.
Cable management is the difference between a battlestation that photographs well and one that holds up on camera during a stream. The AI gaming room setup renders under-desk trays, sleeved runs, and channel routes against your real desk, so you can see where the cables should travel before you drill a single hole. The render also tells you whether a floor channel is needed or whether a desktop grommet is enough — a decision that costs $20 if made before the build and $200 if made after.
Streaming adds a camera, a second light, a mic arm, and usually a backdrop — all of which fight the monitor array for desk and wall space. The AI gaming room setup renders the streaming layout over your room so you see whether the camera frame captures a clean background or the back of your monitor stand. The render also tells you where acoustic panels need to land so your mic does not pick up room reflections, and whether the second light reads as fill or as glare on the screen.
AI Design Process
Shoot your room straight-on from the doorway in natural daylight, with the desk and the longest wall visible. The AI gaming room setup reads walls, windows, and proportions from the photo itself — it does not need measurements or a floor plan. JPG, PNG, and WebP up to 4MB are supported, and a single clean frame is enough to generate from. Keep the desk in frame so the AI can read its current footprint and judge how large the battlestation should be.
Select home-office as the room type and redesign as the mode. The AI keeps your architecture — wall geometry, window positions, ceiling height — and applies a battlestation layout over it: dual or triple monitor array, ergonomic chair, RGB bias lighting, cable management, and acoustic treatment where the walls actually reflect. You are directing the gear layout, not redrawing the room. The style picker lets you push toward modern, industrial, or mid-century if you want the room to read as more than a functional pit.
In under a minute you receive a high-resolution render. Walls and windows stay exactly where they were; the desk, monitor array, lighting, chair, and acoustic treatment shift toward a gaming room setup. The architecture is the reference, not the casualty — nothing structural changes. The render reads as a real room because it is one, with your window glare, your wall reflections, and your proportions intact. Bias lighting lands behind the monitors where it actually reduces eye strain, and cable routes follow your real desk geometry rather than a generic battlestation template.
Use the before/after slider to judge whether the layout fits your proportions. Triple array eats too much desk? Generate a second render with a dual array plus a 49-inch ultrawide and compare the two side by side. One render rarely settles a gaming room — two or three together tell you whether you need the L-shaped desk, whether the chair rolls far enough back, or whether a straight 60-inch deep desk surface is enough for the way you actually play.
Room Tips
Gaming room setups live or die by the wall the monitors face — that is where bias lighting, acoustic panels, and shelving will land. Frame the photo so the longest desk wall is visible straight-on, and the render will read where the gear should sit. A corner shot hides the wall and the AI has nowhere to put the monitor array, which is the whole point of the exercise. The wall behind your monitors is the single most important surface in a gaming room, so give it to the camera.
The AI gaming room setup uses the existing desk as a scale anchor — it reads the footprint to judge how large the battlestation should be. Keep the desk visible and roughly centered so the render reads proportions correctly and the new monitor array does not come back impossibly large or small relative to your real walls. If the desk is out of frame the AI guesses, and guessing is exactly the thing renders are supposed to save you from.
A gaming room is a room you use at night, and a daylight photo lies about how it will read at 10pm. Shoot at the hour you actually play, or at least with the curtains drawn and the overhead light on, so the AI sees the lighting direction the monitors will be working against. The render will then come back with bias lighting tuned to the actual ambient conditions rather than guessing at a brightness level the room never sees in use.
Floor clutter confuses the AI's reading of how much room the chair needs to roll, because it cannot tell where the desk ends and the laundry pile begins. Desk clutter matters less — the redesign will replace the surface anyway. Spend two minutes clearing the floor around the desk and you will get a noticeably cleaner ergonomics render, with the chair footprint read correctly rather than crammed against a pile the AI mistook for a wall, and the cable routes landing where they actually should.
Supported Styles
Clean planes, restrained palette, brushed metal. The default gaming room direction — it lets the monitors and the RGB read as the visual interest instead of competing with the room. A modern gaming room drops decorative texture in favor of a quiet background that makes the screen the loudest thing in the space, which is usually what you want.
Exposed concrete, blackened steel shelving for figures, Edison ambient lighting that doubles as bias light. An industrial gaming room leans into the hardware aesthetic — the gear looks at home against raw materials rather than fighting a soft domestic backdrop. Useful when the room is in a basement or a converted garage where the concrete is already there and you want to lean in rather than hide it.
Warm woods, tapered legs, and a softer palette that pulls a gaming room back from feeling like a server room. A mid-century gaming room trades the all-black battlestation for a walnut desk and a wood-paneled monitor backdrop — useful when the room doubles as a home office during the day and you do not want it to read as a pit. The trade is warmth for some of the gear's visual punch.
Pale oak, linen, warm-white walls — the opposite weight from a typical gaming room, and useful when the room is small or low on natural light. A Scandinavian gaming room lifts the palette so the monitor glow reads against light surfaces rather than disappearing into a black pit. The trade is that light surfaces show cable clutter faster, so cable management has to be more rigorous than in a darker room.
Stripped-back and intentional, with less gear visible rather than more. A minimalist gaming room hides the console, sleeves every cable, and limits the monitor array to one ultrawide rather than three panels. Useful when the room is also a bedroom or a living space and you want the gaming setup to disappear when not in use. The trade is that minimalism is unforgiving — one loose cable and the whole illusion breaks.
FAQ
Keep exploring
Upload one photo. The AI renders a battlestation — monitors, RGB bias lighting, ergonomic chair, cable management, acoustic treatment — over your actual room in under a minute. No measurements, no software, no commitment. Free to try, no card required for the first render.
Upload & Try FreeMIRALIQ